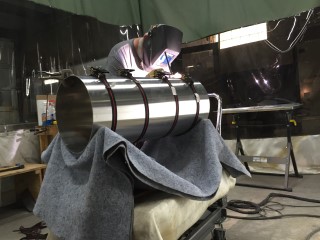
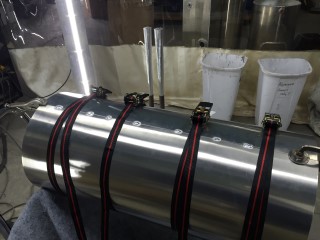
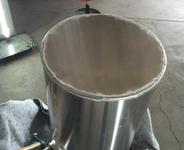
The process begins with rolling or bending the material for the tank depending on the shape. Once the tank is rolled we can then clamp it to hold it in place while it is tack welded together. At this point we also dry fit the baffle and end plates to make sure everything is properly fitted before welding.
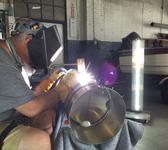
Once we know everything is cut to the right size and shape and everything is going to fit then we proceed to tack weld the tank together.
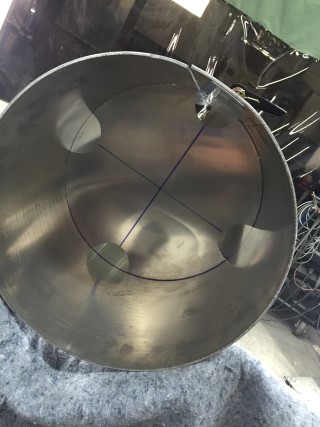
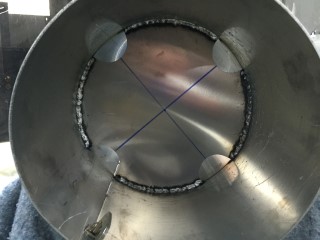
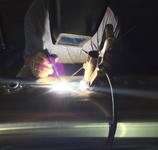
After the tank is all tack welded together we then weld the baffle in place.
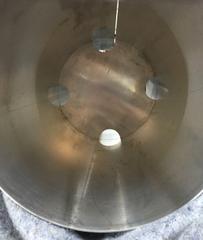
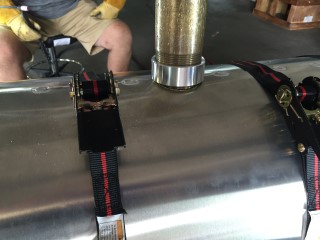
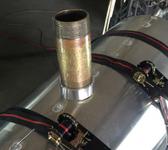
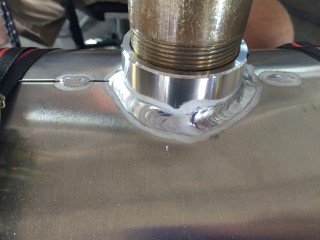
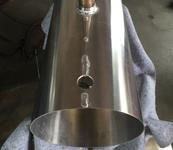
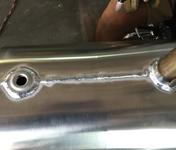
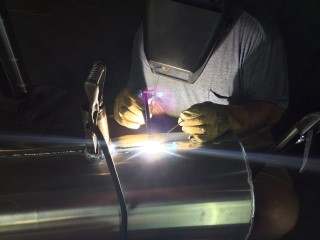
The next step is to cut the holes for the fittings. Most tanks have a fill, pick up, vent, and sometimes a sending unit. Pre-war boats will generally vent through the fuel cap and only have a fill and pick up, like the one in the pictures. Once the holes are cut we can then line the fittings up and weld them in place. We weld the fittings in place before the end plates are put on so that we can run a tap through each fitting and completely clean the tank of any shavings before sealing it off. The reason for running the tap through the fittings after they are welded in place is because the heat from welding will draw the aluminum slightly and cause the fittings to shrink.
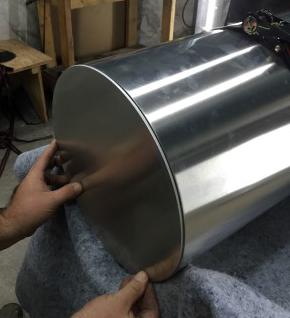
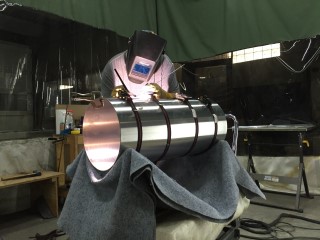
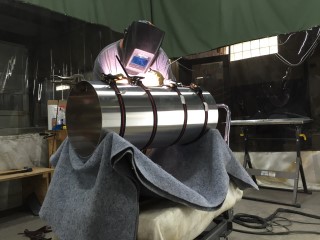
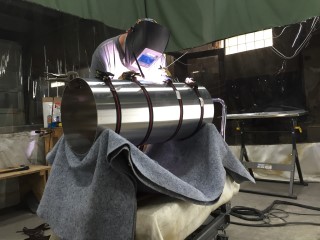
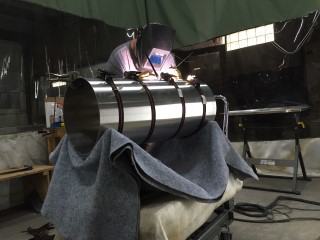
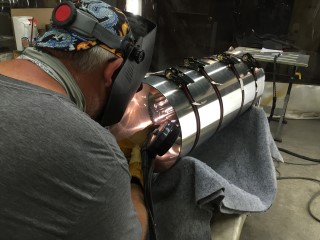
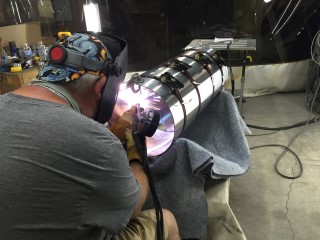
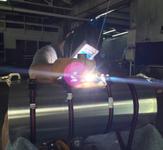
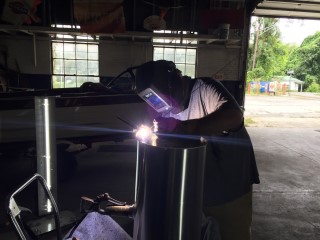
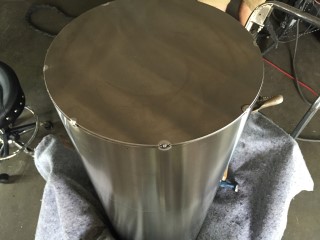
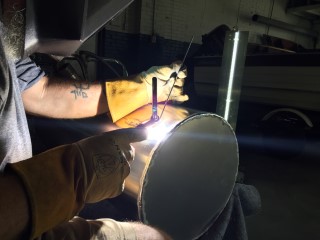
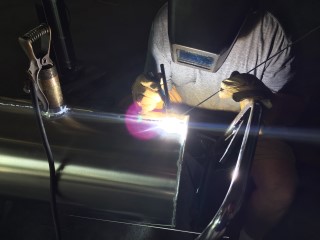
The next step in the process is to weld the end plates in place.
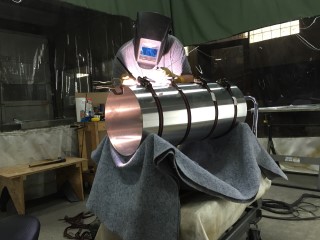
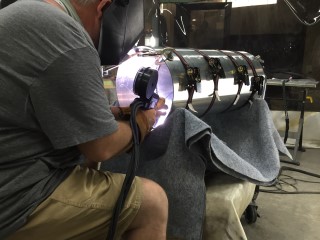
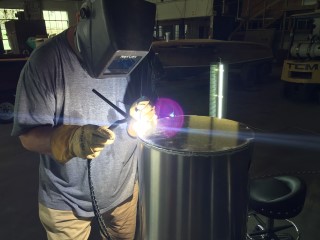
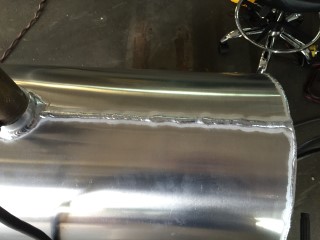
Once the end plates are welded in place then the main seam across the to top of the tank can be fully welded together to completely seal the tank.
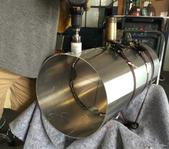
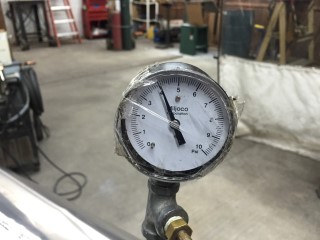
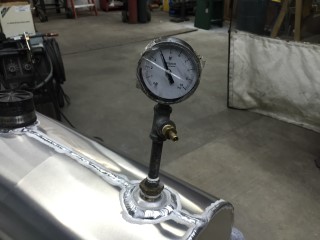
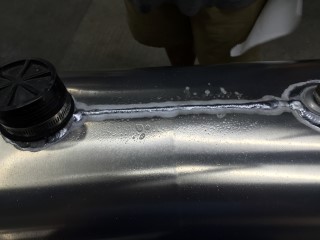
The last step in the process is to pressure test the tank. We plug the fittings to keep air from escaping then pressurize the tank to 4 psi. Once the tank is pressurized we then spray a soapy solution along all of the welds on the tank to check for leaks.
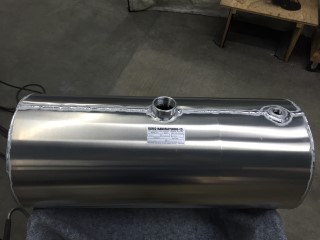
After the tank is tested and cleaned it is packaged and shipped to its proud new owner.